 Save
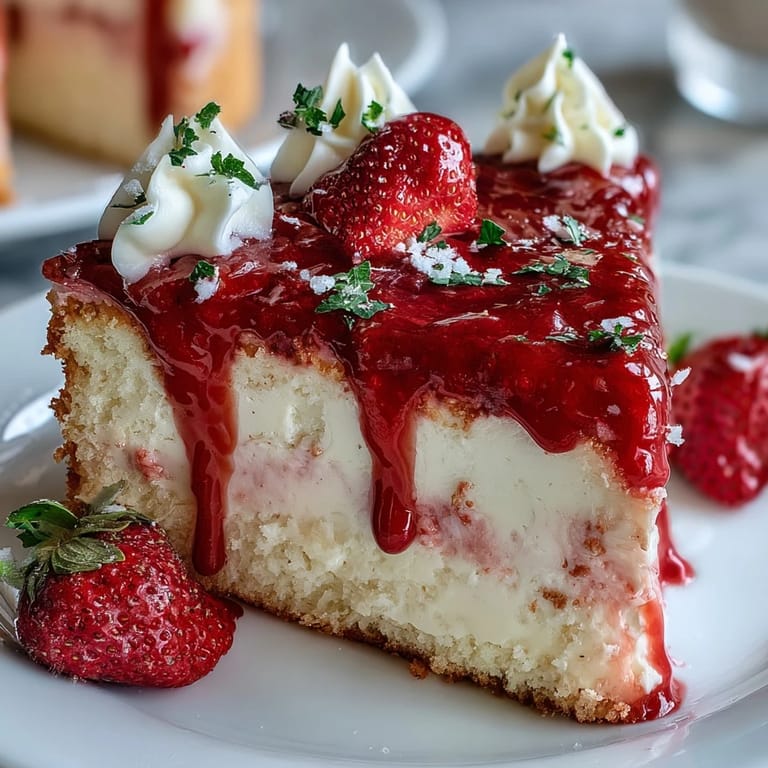
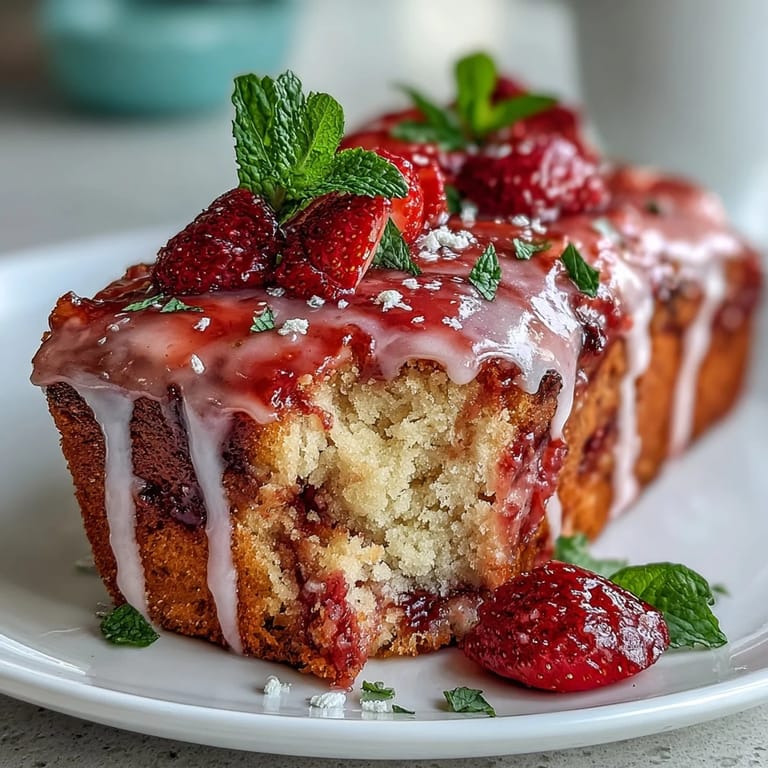
Save My sister called me three weeks before Mother's Day in a mild panic—she'd volunteered to bring dessert to our family gathering but had no idea what to make. I remembered watching my mom's eyes light up years ago when someone served her a layered cake with that ethereal pink ombre effect, the kind that looks like it belongs in a gallery but tastes like pure comfort. That conversation sparked the idea: why not create something that felt both celebratory and deeply personal, a cake that would make any mother feel genuinely seen?
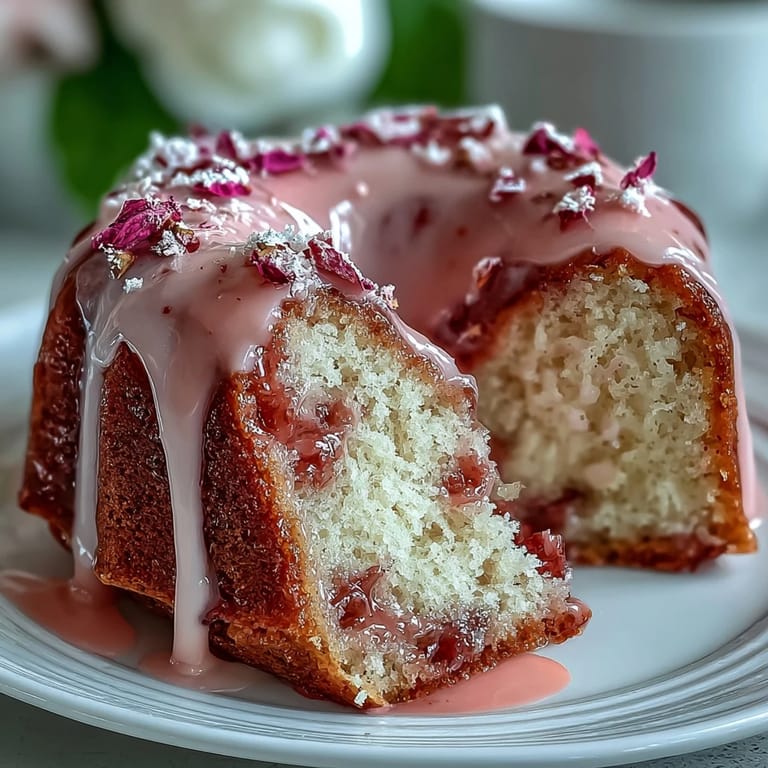
I tested this cake on a quiet Thursday evening, and my partner walked into the kitchen right as I was piping the final touches. The look on his face when he saw that gradient—soft white melting into blush pink to deeper rose—made the whole project worthwhile. By the time we sliced into it and tasted that first crumb, we both understood why this cake deserved a spot at every celebration.
Ingredients
- All-purpose flour (2 ½ cups): This is your structure—make sure it's measured by spooning and leveling, not scooping directly from the bag, or you'll end up with a dense cake.
- Baking powder (2 ½ tsp): Fresh baking powder is crucial here; check your container's date because stale powder means flat layers.
- Unsalted butter (1 cup for sponge, 1 ½ cups for buttercream): Room temperature butter creams beautifully and incorporates air, which is what gives you those light, fluffy layers.
- Granulated sugar (2 cups): This isn't just sweetness—it helps create that tender crumb structure when properly creamed with butter.
- Eggs (4 large): Room temperature eggs mix more evenly and create a smoother batter without lumps.
- Pure vanilla extract (1 tbsp for sponge, 2 tsp for buttercream): The real stuff matters; artificial extract tastes noticeably different and flattens the delicate flavor profile.
- Whole milk (1 cup): Room temperature milk blends seamlessly into the batter without shocking the butter mixture and creating lumps.
- Powdered sugar (5 cups): Always sift this before adding to your buttercream—lumpy frosting is the quickest way to ruin an otherwise perfect cake.
- Gel food coloring: Gel is your friend here because it won't thin out the buttercream like liquid coloring does, keeping that perfect consistency for spreading.
- Edible flowers: Choose pesticide-free varieties like violets, pansies, or rose petals; they're the final flourish that elevates everything.
Tired of Takeout? 🥡
Get 10 meals you can make faster than delivery arrives. Seriously.
One email. No spam. Unsubscribe anytime.
Instructions
- Prepare your pans and preheat:
- Get your oven warming to 350°F and grease those three cake pans generously, then line them with parchment paper cut to fit the bottoms. This double protection means your cakes will release cleanly without any stuck edges.
- Combine your dry ingredients:
- Whisk flour, baking powder, and salt together in a medium bowl—this distributes the leavening evenly so you get even rise across all three layers. Set it aside and don't skip this step; it's the foundation of everything that comes next.
- Cream butter and sugar:
- Beat butter and sugar together on medium-high speed for 3 to 4 minutes until the mixture turns pale and fluffy, almost like clouds. This aerating step is non-negotiable; it's what gives your cake that tender, delicate crumb.
- Incorporate eggs gradually:
- Add eggs one at a time, beating well after each addition—this patience prevents the mixture from looking curdled and ensures even distribution. The batter should look smooth and glossy, not separated.
- Add vanilla extract:
- Mix in the vanilla until it's fully incorporated, which takes just a few seconds. You'll notice the batter smells sweeter and more complex immediately.
- Alternate wet and dry ingredients:
- Add the flour mixture in three additions, alternating with milk and beginning and ending with flour—always mix on low speed and stop as soon as you don't see streaks of flour. Overmixing develops gluten and creates a tough, dense cake instead of your tender masterpiece.
- Divide batter evenly:
- Pour batter into the prepared pans, dividing as evenly as you can—if the layers bake at slightly different rates, they're still salvageable. A kitchen scale helps here, but eyeballing works too.
- Bake until golden:
- Bake for 25 to 30 minutes until a toothpick inserted into the center comes out clean or with just a few moist crumbs. The cakes will smell deeply vanilla-forward and the tops will spring back lightly when you touch them.
- Cool with patience:
- Let cakes cool in their pans for 10 minutes—this prevents them from falling apart—then turn them out onto wire racks to cool completely. This step takes time, but it's essential for stable layers that won't crack when you frost them.
- Make your buttercream base:
- Beat room-temperature butter on high speed for 2 to 3 minutes until it's pale and creamy, which aerates it for that light, fluffy texture. Gradually add sifted powdered sugar on low speed, then add vanilla and milk, and finish with another minute on high speed.
- Create the ombre effect:
- Divide buttercream into four bowls—leave one completely white for the outer coating, then tint the other three with increasing drops of gel food coloring to create your gradient. Mix each shade thoroughly until the color is uniform and consistent.
- Layer and frost:
- Place your first cake layer on a serving plate, spread the darkest pink buttercream on top, then add the second layer and spread medium pink buttercream. Top with the final layer and spread light pink buttercream across the top, using white buttercream to coat the sides for that beautiful ombre transition.
- Smooth and blend:
- Use an offset spatula to smooth the frosting, working slowly and letting the warmth of the tool help create even surfaces. If you want a more blended ombre effect, use a bench scraper to gently feather the colors together where they meet.
- Add your flowers:
- Arrange edible flowers artfully on top and around the sides just before serving, as they're loveliest when completely fresh. Remove any non-edible toppers before slicing and serving.
- Chill before slicing:
- Refrigerate the finished cake for at least 30 minutes—this firms up the buttercream so your slices come out clean and beautiful. A sharp, hot knife dipped in warm water between cuts helps tremendously.
 Save
Save When my sister actually made this cake for Mother's Day, she sent me a photo of my mom's face—genuine surprise and joy, the kind you can't fake. That moment reminded me that the most memorable desserts aren't always the most complicated; they're the ones made with intention and finished with a little thoughtfulness.
The Science of Tender Layers
The secret to this cake's almost-dissolving texture lies in three things working together: properly creamed butter that incorporates air, room-temperature ingredients that mix smoothly without separation, and the gentle folding technique that prevents overdeveloping gluten. I learned this the hard way by making dense, tough cakes before understanding that mixing is more about restraint than effort. The moment you stop seeing flour streaks, you stop mixing—your instinct to keep going is your enemy here.
Getting That Ombre Gradient Right
The ombre effect looks complicated but lives entirely in the buttercream shades and how you layer them—the cake itself is just your blank canvas. I've found that creating three distinct color grades (dark, medium, light) is easier than trying to blend many shades, and the transition still reads as a gorgeous gradient. The white buttercream on the sides provides visual breathing room and lets the ombre on top be the star.
Flowers, Freshness, and Final Touches
Edible flowers are the element that transforms this from a beautiful cake into something that feels like it arrived from a fancy bakery, and they're more accessible than you'd think. Pansies, violets, and rose petals from specialty grocery stores stay fresh for hours once arranged, and they add a delicate elegance that no piped decoration can quite match. A few final thoughts before you serve:
- Order edible flowers a day ahead if using specialty varieties, or grab them from the produce section just before decorating.
- Pat them gently dry with paper towels if they've been refrigerated, as excess moisture can weep onto the frosting.
- Position flowers just before serving for maximum visual impact and freshness.
 Save
Save This cake has become my go-to celebration dessert because it delivers both on flavor and on that moment of genuine delight when someone sees it for the first time. It's the kind of dessert that feels special without requiring a bakery degree.
Common Questions
- → How is the pink ombre effect achieved?
The buttercream is divided into portions and tinted with increasing amounts of pink coloring, creating a gradient that is layered from dark to light.
- → Can I use fresh flowers for decoration?
Yes, edible fresh flowers like violets and pansies add a natural, delicate touch, but ensure they are safe for consumption.
- → What is the best way to keep the sponge moist?
Brushing cooled layers with simple syrup before applying buttercream helps retain moisture and enhances flavor.
- → How long should the cake chill before serving?
Chilling the assembled cake for about 30 minutes helps the buttercream set and makes slicing cleaner.
- → Is gel food coloring preferable for the buttercream?
Gel coloring provides more vibrant shades without thinning the buttercream, maintaining its creamy texture.