 Save
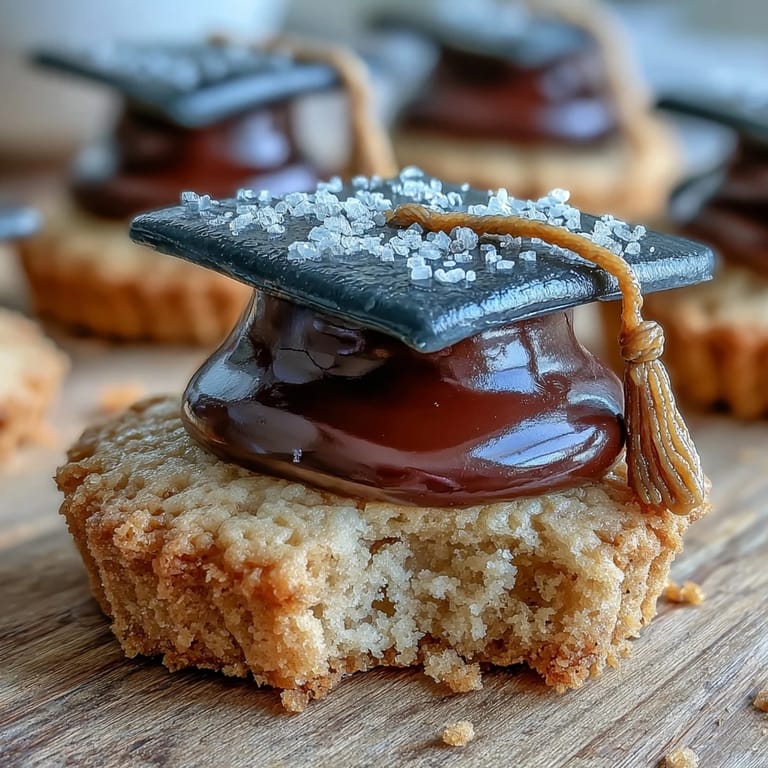
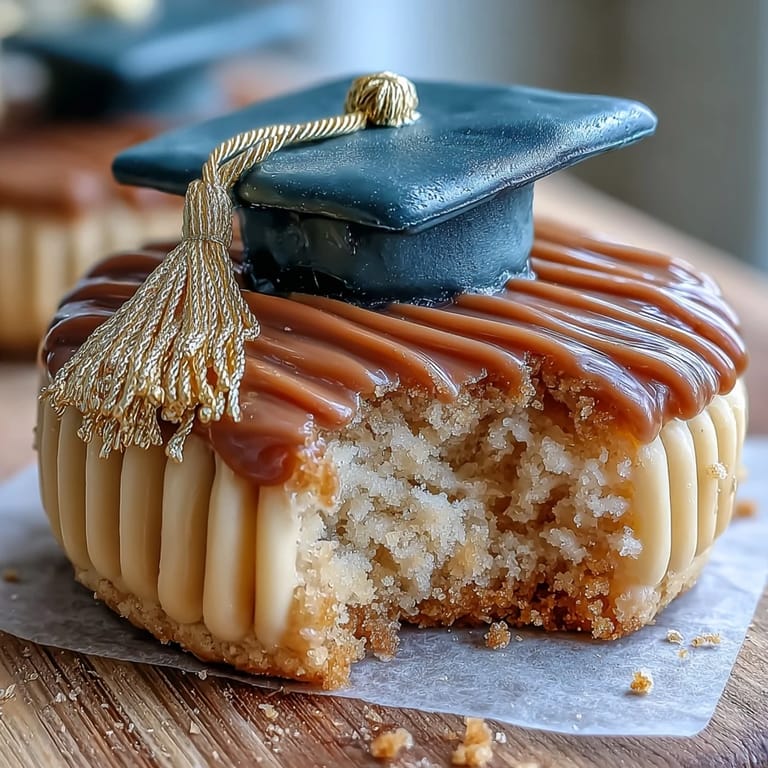
Save The ritual of graduation always feels like a celebration of new beginnings, and these buttery sugar cookies shaped as diplomas and caps have somehow become a signature treat at my house for every achievement worth marking. It’s funny—I still remember the clatter of rolling pins and a powdery cloud of flour when I first attempted these cookies, under the hopeful gaze of a kitchen full of teenagers nervously awaiting exam results. The joy wasn’t just in how gorgeous the golden icing shimmered, but in the laughter that kept erupting as shapes emerged, miraculously intact, from the dough. Decorating together turned into a competition for the best cap tassel, and the kitchen counters glistened with little flecks of gold dust. It might have started as a simple gesture to honor hard work, but now these cookies are a must whenever we want to make an ordinary day shine a little brighter.
Last year, my cousin’s graduation party brought together relatives who rarely occupy the same room. As the cookies were passed around, even the quietest uncle started guessing which cap belonged to whom by the piping details. Decorating felt almost meditative—a rare quiet before the diplomas were handed out and cameras started flashing. Those cookies, some boasting appropriately crooked tassels and others adorned with perfect golden ribbons, became edible souvenirs of a joyful, chaotic evening. It surprised me just how much one batch could spark so many conversations and smiles.
Ingredients
- All-purpose flour: Don’t skip sifting—it guarantees the cookies bake up with crisp, clean edges for that diploma-worthy look.
- Unsalted butter: Let it fully come to room temperature for the dreamiest creamed texture and zero lumps.
- Granulated sugar: Whip it with the butter until you actually see it turn pale—a clue you’re on the right track for melt-in-your-mouth results.
- Large egg: Adds just enough richness and holds the dough together without making it tough.
- Vanilla & almond extract: Almond brings lovely depth, but a lemony twist also pairs beautifully with the sweet decorations.
- Salt: Just a pinch wakes up the flavors and balances the dough.
- Powdered sugar: Sifted into the royal icing for a silky, clump-free finish.
- Egg whites (or meringue powder): They whip into a cloud-like icing; choose based on your comfort and pantry basics.
- Cream of tartar: Trust me, it’s the secret for stable, glossy peaks in your icing.
- Black gel food coloring: A little goes a long way for vivid, graduation-cap black—don’t overdo it or the icing can taste bitter.
- Gold edible luster dust + clear alcohol or lemon extract: These give pure celebratory sparkle; use just enough liquid to paint without smudging.
Tired of Takeout? 🥡
Get 10 meals you can make faster than delivery arrives. Seriously.
One email. No spam. Unsubscribe anytime.
Instructions
- Cream the base:
- Let’s cream the butter and sugar together until the color actually lightens and it fluffs up—you can hear the beater change pitch as it gets airy. This is when I add the egg and extracts, and if you’re feeling playful, a pinch more almond or a drop of lemon gives it a whole new vibe.
- Bring the dough together:
- Gradually mix in the flour and salt; stop when the dough just comes together and pulls off the sides, barely sticky. Resist the urge to over-mix or you’ll lose the snap-to-the-edge you want for sharp cookie shapes.
- Chill to perfection:
- Split your dough, pat into discs, and wrap tightly—chilling feels like a waiting game but it stops everything from spreading and saves you from warped diplomas.
- Roll and cut:
- Roll the dough out on a lightly floured counter to about a quarter inch—I find pressing with even, gentle strokes lets you almost hear the dough settling smoothly for cutters.
- Bake just right:
- Place the shapes on parchment and bake for 8 to 10 minutes until you see just a kiss of golden at the edges. Transfer right away to cool, so the bottoms stay crisp not soggy.
- Mix the royal icing:
- Whip egg whites with cream of tartar until they look foamy, then slowly beat in the powdered sugar until stiff peaks hold their shape and gloss. This is where I stir in vanilla and prep separate bowls for color—remember to cover with a damp cloth so nothing crusts over.
- Get creative with color:
- Tint one batch intensely black (just a little at a time), leave some white, and reserve a bit for the gold that’s brushed on later. Having everything ready speeds up the creative decorating frenzy.
- Decorate your masterpieces:
- Pipe outlines and fills: let the icing set for clean lines before layering on little details or painting gold. The cookies need about an hour to set before their final golden touches.
- Add golden details:
- Mix gold luster dust with clear alcohol or lemon extract until it’s paintable, then use a fine brush to add tassels and accents—it’s oddly therapeutic watching dull icing turn to liquid sunshine. Let everything dry until the golden glimmer won’t smear when you pass the plate.
 Save
Save  Save
Save When my little niece grabbed a “diploma” cookie, clutching it like she’d just gotten her degree, it struck me how small kitchen creations carry so much meaning in milestone moments. The photo of her, grinning with gold-dusted crumbs on her cheeks, is now tucked next to the actual graduation photo on our fridge, a sweet reminder these cookies mark achievements both big and small.
Decorating Without Stress
I used to be so careful with the piping bags, but my cookies actually started looking more joyful (and tasted just as good) once I let myself relax and experiment with swirls, dots, and even imperfect lines. Some of the most cherished cookies have that homemade flair—each one distinct, showing off little quirks that make them even more special.
Making Ahead for Busy Days
One unexpected lifesaver for party prep is that both the cookies and royal icing can be made ahead of time. I’ll often bake the cookies a couple days early, store them airtight, and decorate them at my own pace—never rushing, always with a cup of tea nearby.
Serving and Storing for Success
If you’re bringing these to a party, layer them in a tin with parchment to keep the icing pristine—they’re surprisingly sturdy once set. For leftovers, keep them airtight at room temperature up to a week, and if the gold seems to fade, a quick gentle buff with a clean brush restores their shine.
- Let icing dry fully before stacking.
- Store in a cool, dry spot—humidity will soften the cookies.
- Double the batch if you’re hosting more than eight people; they disappear quickly.
 Save
Save 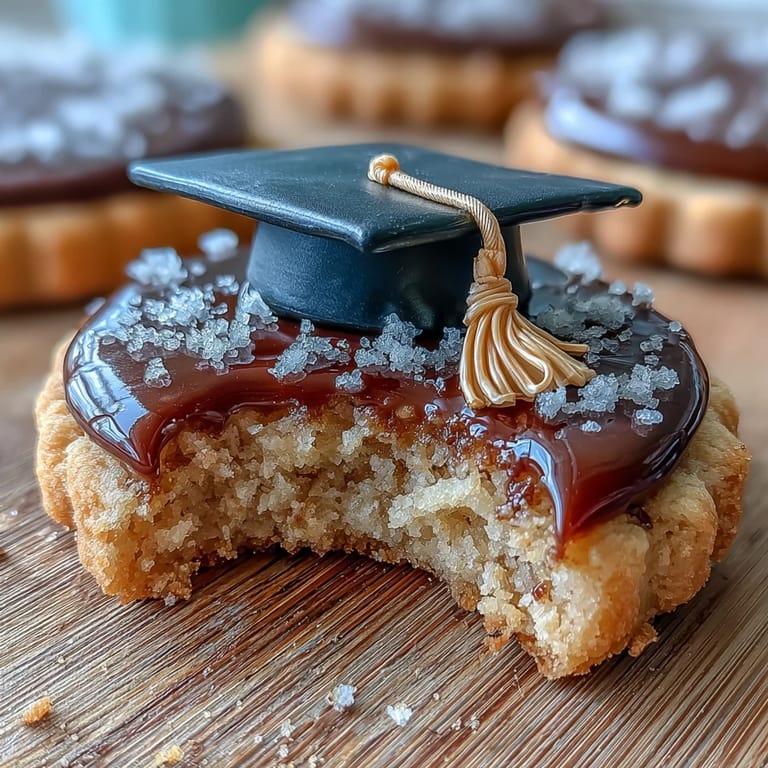 Save
Save May your celebration plates be filled with treats as sparkling as your achievements. Here’s to every milestone, toasted with a bite of golden, home-baked sweetness.
Common Questions
- → How do I keep cookies from spreading during baking?
Chill the dough disks for at least 45 minutes before rolling, use a cool baking sheet, and roll to an even 1/4-inch thickness. If edges brown too quickly, reduce oven temperature by 10–15°F and bake until just golden.
- → What royal icing consistency is best for flooding?
Use a medium-flow consistency for flooding: when the icing drops off a spoon it should smooth out within 15–20 seconds. Keep separate thicker icing for piping outlines and details.
- → How do I make the gold paint for details?
Mix edible gold luster dust with a few drops of clear alcohol (like vodka) or lemon extract to create a paintable sheen. Apply sparingly with a fine, food-safe brush and let dry completely.
- → Can I use meringue powder instead of egg whites?
Yes. Substitute 4 tablespoons meringue powder plus 6 tablespoons water for the two egg whites to make royal icing that reaches stiff, glossy peaks while reducing raw egg concerns.
- → How should finished cookies be stored?
Store completely dry cookies in an airtight container at room temperature for up to 1 week. Layer with parchment to protect decorations; avoid humid environments to preserve crisp edges and icing texture.
- → Any flavor swaps for the dough?
Swap the almond extract for lemon extract for a bright lift, or omit almond for a classic vanilla-forward cookie. Keep total extract volume steady to preserve dough balance.