 Save
Save The first time I brought a whole roasted cauliflower to a dinner party, my friend actually laughed out loud. But when I carried this golden, cheese-studded beauty to the table, the room went quiet. There's something theatrical about presenting an entire vegetable, transformed into something indulgent and impressive. Now it's my secret weapon for those nights when I want to make something extraordinary without actually working that hard.
I made this for my sister's birthday last month, and she kept asking what restaurant I'd ordered it from. Watching everyone lean in as I sliced through the crispy topping into the creamy center was such a fun moment. It's one of those dishes that makes people feel special, and honestly, isn't that why we cook for people we love?
Ingredients
- 1 large whole cauliflower: Choose one that feels heavy and tight with no browning or loose florets peeking out
- 1 tbsp olive oil: This helps the exterior get beautifully golden and keeps everything moist
- ½ tsp salt: Essential for bringing out the cauliflower's natural sweetness
- ¼ tsp black pepper: Freshly ground makes all the difference here
- 150 g cream cheese, softened: Room temperature is crucial or you'll end up with lumpy filling
- 100 g shredded mozzarella cheese: Creates those gorgeous cheese pulls when you slice into it
- 50 g grated Parmesan cheese: Adds that salty, umami depth that makes the filling sing
- 2 tbsp chopped fresh chives: Their mild onion flavor brightens all that rich cheese
- 1 garlic clove, minced: Don't skip this, it's the aromatic backbone of the whole dish
- ½ tsp smoked paprika: This is the secret ingredient that makes people ask what's in it
- ¼ tsp ground nutmeg: Just a pinch adds this lovely warmth that pairs perfectly with cauliflower
- 1 tbsp milk: Helps loosen the filling to just the right consistency for stuffing
- 50 g shredded cheddar cheese: Forms that irresistible golden crust on top
- 2 tbsp breadcrumbs: Use gluten-free if needed, they create amazing texture
- 1 tbsp melted butter: Tossing the topping with butter ensures it gets properly crispy and golden
Tired of Takeout? 🥡
Get 10 meals you can make faster than delivery arrives. Seriously.
One email. No spam. Unsubscribe anytime.
Instructions
- Preheat and prep your station:
- Get your oven to 200°C and line a baking sheet with parchment paper so nothing sticks and cleanup is effortless
- Prepare the cauliflower:
- Trim off the outer leaves and slice just enough off the bottom so it sits flat but keep everything intact
- Blanch the cauliflower:
- Boil a large pot of salted water, lower the cauliflower in gently, and cook for 8 to 10 minutes until it yields slightly to a knife
- Mix the cheesy filling:
- Combine the cream cheese, mozzarella, Parmesan, chives, garlic, paprika, nutmeg and milk until completely smooth
- Create space for the filling:
- Once the cauliflower has cooled enough to handle, make deep cuts between the florets and into the center to form little pockets
- Stuff it generously:
- Press the cheese mixture into all those crevices and the center cavity, really working it in with your fingers or a spoon
- Season and oil the exterior:
- Brush the whole outside with olive oil and sprinkle with salt and pepper to ensure the outside is as flavorful as the inside
- Add the crispy topping:
- Mix the cheddar, breadcrumbs and melted butter, then scatter it evenly over the top and into any visible cracks
- Bake until golden:
- Roast for 40 to 45 minutes until the top is deeply golden, the cheese is bubbling, and a knife slides through easily
- Rest and serve:
- Let it sit for 5 minutes so the filling sets slightly, then slice into wedges like a cake
 Save
Save 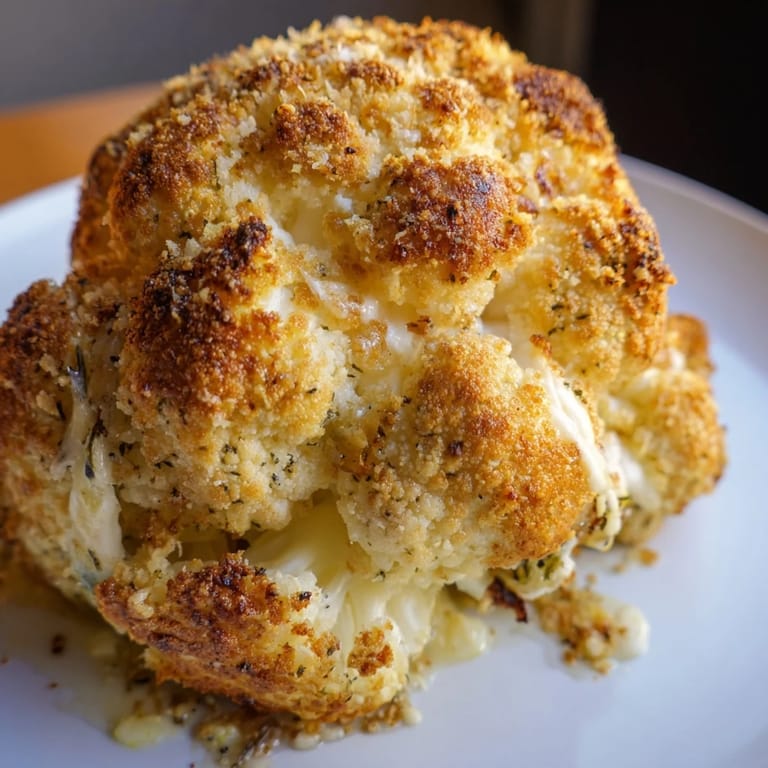 Save
Save My partner initially scoffed at cauliflower for dinner, but after one bite he literally asked when we could have it again. There's something so satisfying about turning the humblest vegetable into something that feels decadent and celebratory.
Make It Your Own
I've found that adding sun-dried tomatoes or sautéed mushrooms to the cheese filling takes this in a completely delicious direction. Sometimes I swap the chives for fresh dill or parsley depending on what's growing in my windowsill garden. The template stays the same, but the variations keep it interesting.
Serving Suggestions
This dish is substantial enough to be the main event, especially alongside a crisp green salad with a bright vinaigrette. When I want to stretch it to feed more people, I'll serve it with roasted vegetables or some crusty bread to soak up all that cheesy goodness. It's forgiving and flexible that way.
Storage and Reheating
Leftovers actually reheat beautifully, though the crispy topping will lose some of its initial crunch. I reheat wedges in a 350°F oven for about 15 minutes until everything is hot and bubbling again. The flavors seem to meld even more after a night in the refrigerator.
- Wrap leftovers tightly and they'll keep for up to three days in the fridge
- Frozen portions work well if you want to meal prep this for busy weeks
- A quick stint under the broiler before serving brings back some of that crispiness
 Save
Save 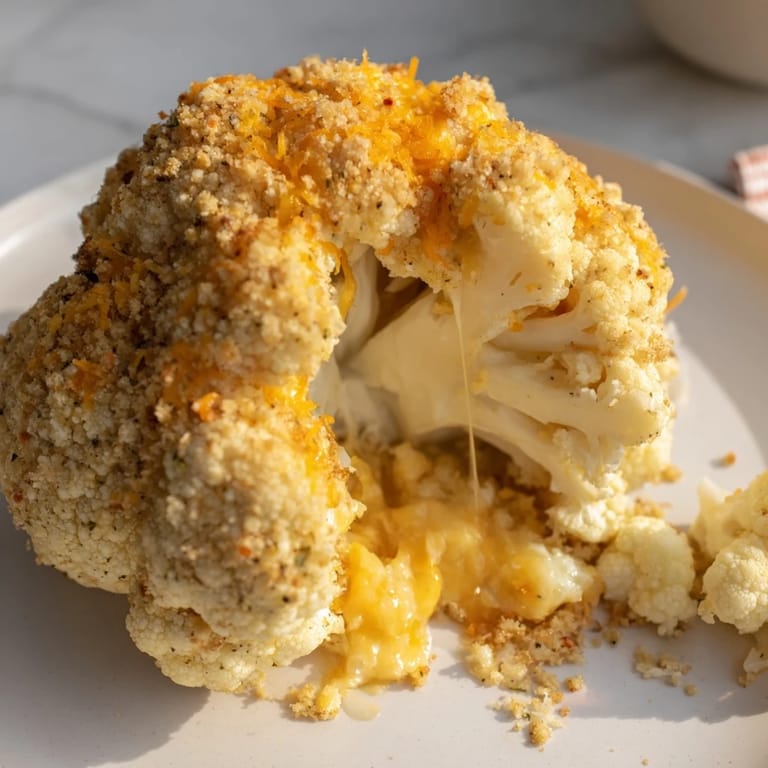 Save
Save Next time you want to impress someone without spending the whole day in the kitchen, remember this recipe. It's the kind of dish that turns an ordinary Tuesday into something worth celebrating.
Common Questions
- → How do I know when the cauliflower is done?
The cauliflower is ready when it's golden brown on top and tender when pierced with a knife. The cheese should be bubbling and the breadcrumbs toasted to a rich golden color, typically after 40-45 minutes of baking.
- → Can I prepare this dish ahead of time?
You can par-boil the cauliflower and prepare the cheese filling up to a day in advance. Store them separately in the refrigerator. When ready to serve, stuff the cauliflower and bake as directed.
- → What other vegetables can I use?
This technique works beautifully with other hearty vegetables like whole cabbage, large portobello mushrooms, or even bell peppers. Adjust the baking time based on the vegetable's density.
- → How do I get the filling inside properly?
Make deep cuts into the base and between florets using a small knife. This creates channels for the cheese mixture. Use a spoon or your fingers to gently press the filling into these crevices, working from the outside inward.
- → Can I make this dairy-free?
Substitute the dairy cheeses with your favorite vegan alternatives. Use dairy-free cream cheese, vegan shredded cheese blends, and nutritional yeast for that cheesy flavor. Plant-based milk works in place of regular milk.
- → What should I serve with stuffed cauliflower?
This pairs wonderfully with a crisp green salad dressed with vinaigrette, roasted root vegetables, or crusty bread to soak up any melted cheese. It also complements grilled proteins as a hearty side dish.