 Save
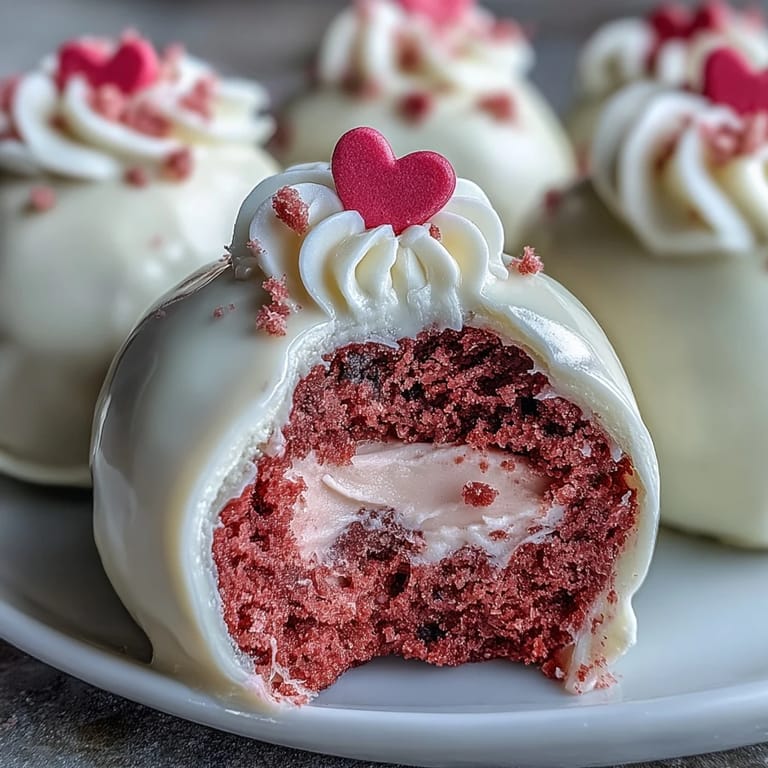
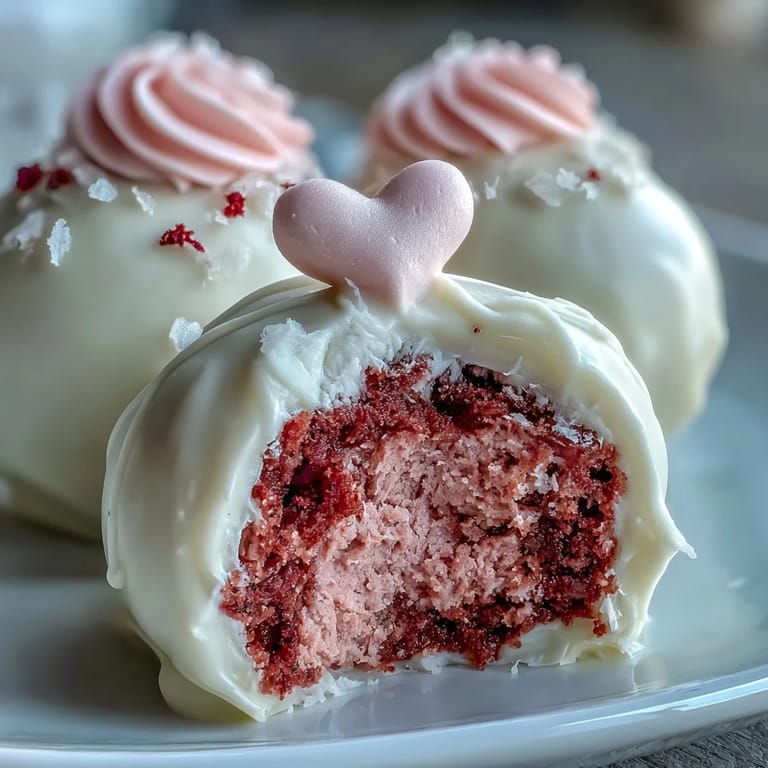
Save My coworker Sarah walked into the office one February afternoon with a box of the most elegant pink cake pops I'd ever seen, each one perfectly spherical and gleaming like tiny jewels. She mentioned they were for a Galentines gathering, and I immediately asked for the recipe because I wanted to recreate that magic for my own friends. What started as curiosity became an obsession with nailing the pink velvet flavor and that creamy white chocolate coating that made them feel impossibly fancy.
I made my first batch last year for a Galentines potluck at a friend's house, and watching everyone's faces light up when they bit through that white chocolate shell was worth every sticky finger moment in my kitchen. One guest even asked if I was starting a business, which made me laugh because I'd definitely made mistakes along the way, like over-mixing the batter and getting a slightly dense crumb. The good news? It didn't matter one bit because the frosting and coating saved the day.
Ingredients
- All-purpose flour: This is your structural foundation, so measure it by spooning into the cup and leveling rather than scooping, which compacts too much flour and throws off your ratios.
- Granulated sugar: Creams beautifully with softened butter to create that tender crumb that makes cake pops possible to handle.
- Unsweetened cocoa powder: Gives pink velvet its subtle chocolate undertone and that iconic color when paired with the pink food coloring.
- Buttermilk: The acidity is crucial for activating the baking soda and creating a tender texture, so don't skip or substitute it.
- Pink gel food coloring: Gel colors are more concentrated than liquid, so you'll use less and won't thin out your batter, which is the mistake I made the first time.
- Cream cheese and unsalted butter: Both must be softened to room temperature or your frosting will be lumpy and refuse to combine smoothly.
- White chocolate or candy melts: Candy melts are actually easier for cake pops because they have added cocoa butter and set faster, though real white chocolate tastes superior if you want to splurge.
Tired of Takeout? 🥡
Get 10 meals you can make faster than delivery arrives. Seriously.
One email. No spam. Unsubscribe anytime.
Instructions
- Set your stage:
- Preheat to 350°F and prepare your 8-inch square pan with a light grease and parchment, which makes removing the cooled cake infinitely easier. Having everything measured and ready before you start mixing is genuinely half the battle.
- Combine your dry ingredients:
- Whisk together flour, sugar, cocoa powder, baking soda, and salt in a medium bowl, breaking up any cocoa powder clumps with the whisk. This prevents streaks of cocoa in your final cake.
- Cream your butter base:
- Beat softened butter until it looks almost fluffy and pale, then add eggs one at a time, beating well between each addition so they emulsify properly. Stir in vanilla and vinegar, which adds tang and reacts with the baking soda.
- Alternate wet and dry:
- Add your dry ingredients and buttermilk in three batches, starting and ending with flour, and mix only until you can't see any white streaks. Over-mixing develops gluten and creates a dense crumb, which you don't want.
- Add the pink:
- Drop in your pink gel food coloring and fold gently until the color is vibrant and even throughout, adding more coloring if you want a deeper pink. The batter should look almost salmon or dusty rose, not hot pink.
- Bake with confidence:
- Pour into your prepared pan and bake for 22 to 25 minutes until a toothpick comes out clean with just a few moist crumbs clinging to it. The cake should smell subtly chocolatey with a hint of something floral from the pink coloring.
- Cool completely:
- Let the cake rest in the pan for 10 minutes, then turn it out onto a wire rack and cool all the way through, which takes about an hour. Warm cake crumbles unevenly and won't hold together when you roll it into balls.
- Make your frosting:
- Beat softened cream cheese and butter together until completely smooth, then gradually add sifted powdered sugar so you avoid lumps, and finish with vanilla. The mixture should taste tangy, sweet, and luxuriously creamy.
- Crumble and combine:
- Break your completely cooled cake into fine crumbs in a large bowl, add your frosting, and fold together until the mixture just holds together when you squeeze it. This should feel like slightly moist sand that holds a shape.
- Roll your balls:
- Scoop about a tablespoon of mixture at a time and roll between your palms into 1-inch balls, placing them on a parchment-lined baking sheet as you go. If the mixture gets too warm and sticky, chill it for 10 minutes.
- Chill for stability:
- Cover and refrigerate the balls for at least 30 minutes so they firm up and won't fall apart when you dip them. This patience step genuinely makes or breaks the whole project.
- Melt your coating:
- In a microwave-safe bowl, melt white chocolate in 20-second intervals, stirring between each one until it's completely smooth and glossy. Don't let it get too hot or it will seize and become thick.
- Secure your sticks:
- Dip the tip of each cake pop stick into melted chocolate, then insert it about halfway into a chilled cake ball at a slight angle. Chill for 10 minutes so the chocolate sets and the stick won't spin loose.
- Dip with finesse:
- Hold each pop by the stick and gently dip it into the melted chocolate, twisting slowly as you pull it out, then tap the stick gently against the bowl rim to let excess drip away. Work quickly since the coating sets fast once it hits the cool cake.
- Decorate immediately:
- While the coating is still wet, sprinkle on edible glitter, pastel sprinkles, or tiny heart candies so they stick beautifully. This is the moment where they transform into something genuinely special.
- Set upright and let them cure:
- Place each pop upright in a styrofoam block or cake pop stand and let sit at room temperature until the coating is completely set, which takes about 30 minutes. Once set, they're sturdy enough to package and transport.
 Save
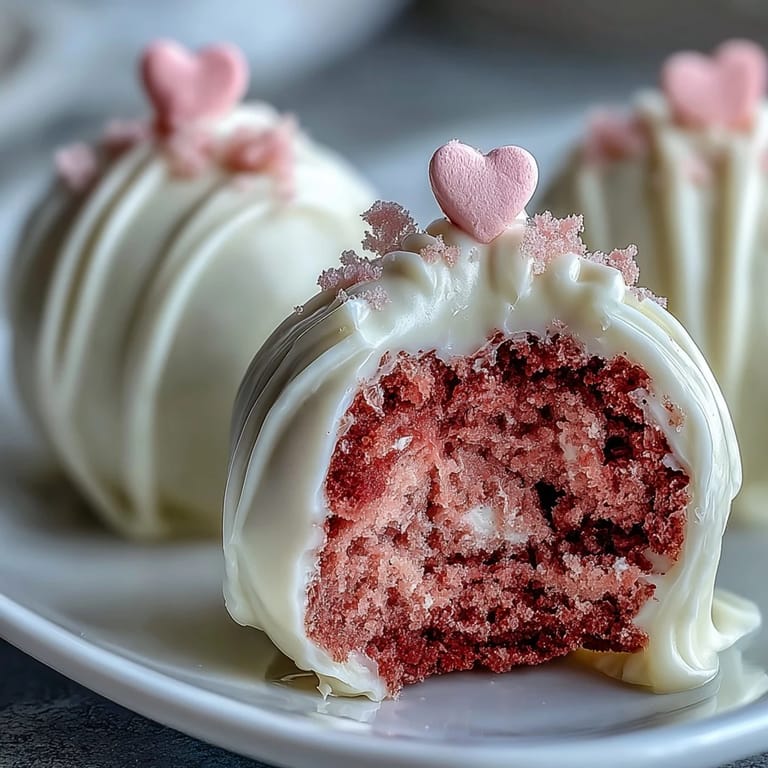
Save There's something almost meditative about standing at the counter, dipping each pop and watching the coating transform them from humble cake crumbs into something that looks bakery-worthy. My eight-year-old nephew helped decorate my last batch, and his unsteady sprinkle placement somehow made them more charming, not less.
Flavor Variations to Consider
Once you master the basic pink velvet, you'll start imagining variations that excite you. I've experimented with swapping the white chocolate coating for dark chocolate or even strawberry-flavored candy melts, which made the flavor profile feel more grown-up and less sweet. Red velvet fans could try using red coloring instead of pink and adding a tiny pinch more cocoa powder for deeper flavor.
Storage and Sharing Wisdom
These pops stay fresh in an airtight container in the refrigerator for up to five days, though they won't last nearly that long if they're as good as mine turned out. I've learned the hard way that the refrigerator keeps them from getting sticky, especially if your kitchen runs warm during the day. Room temperature storage for more than an hour or two risks the chocolate coating getting a dull white coating called bloom, which tastes fine but looks less shiny.
Why This Recipe Works for Celebrations
Cake pops might sound intimidating, but they're actually forgiving because any imperfect exterior gets hidden under that glossy chocolate coating and sparkly decorations. You can make the cake and frosting a day ahead and only do the rolling and dipping the morning of your gathering, which spreads out the work and keeps you sane. The fact that they're hand-held, bite-sized, and feel fancy makes them perfect for Galentines gatherings, office parties, or literally any moment when you want to celebrate friendship without a fork and plate.
- Prep ahead by baking and making frosting the day before, then roll and dip on the morning of your event.
- If you're nervous about the dipping process, practice with just a few pops before committing to the whole batch.
- Package them in treat boxes with cupcake liners or tissue paper for a gift-worthy presentation that people will remember.
 Save
Save These pink velvet cake pops became my signature move for any gathering that calls for something special, and I hope they become yours too. There's genuine magic in the moment someone bites through that white chocolate shell and discovers the tangy-sweet frosting inside.
Common Questions
- → How is the pink color achieved in the cake?
Vibrant pink gel food coloring is added to the batter, ensuring an even and intense pink hue without altering the texture.
- → What type of chocolate is used for coating?
White chocolate or white candy melts are melted smoothly and used to coat each cake pop, providing a creamy exterior.
- → Can the cake pops be stored after preparation?
Yes, store them in an airtight container in the refrigerator for up to five days to maintain freshness.
- → Are there options for flavor variations in the coating?
Yes, try dark chocolate or strawberry-flavored candy melts as alternatives to white chocolate for varied tastes.
- → What is the method to ensure the cake pops hold together?
Crumbling the baked cake and mixing it thoroughly with the cream cheese frosting creates a firm mixture that forms stable balls.
- → How is the creamy filling incorporated?
The cream cheese is blended with butter, powdered sugar, and vanilla to make a fluffy frosting that's mixed into the crumbled cake.