 Save
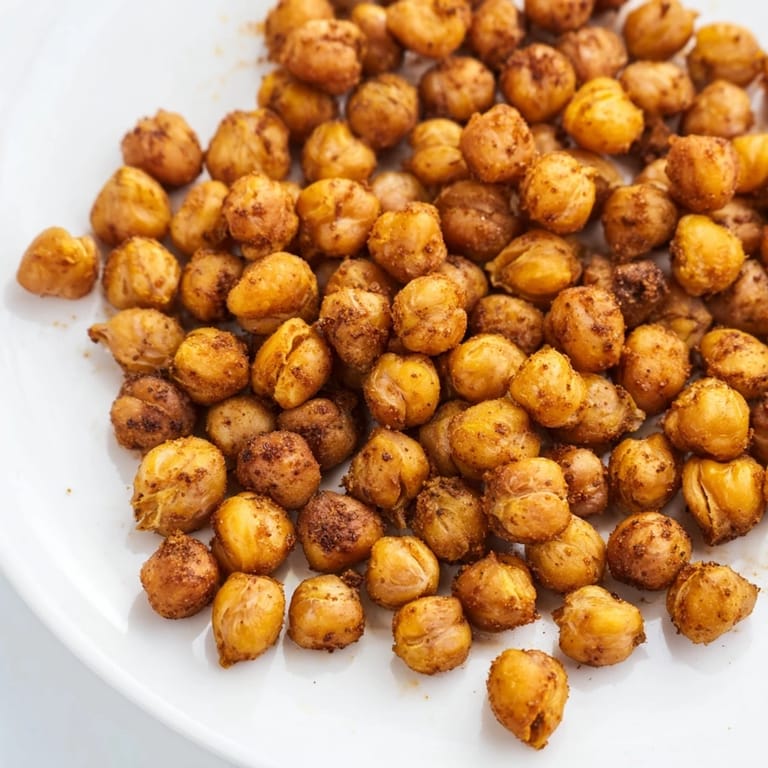
Save I discovered these crispy chickpeas by accident one afternoon when I found a forgotten can in the back of my pantry and decided to roast it instead of the usual hummus route. The kitchen filled with this warm, toasty smell that had my roommate asking questions before they were even done cooking. That first batch came out shatteringly crisp, and I realized I'd stumbled onto something better than any store-bought snack—something I could make in less time than it takes to order delivery.
I brought a batch to a movie night once, and they disappeared faster than the popcorn—something about the savory seasoning and that crack-when-you-bite-them texture kept everyone reaching back into the bowl. That's when I knew this recipe deserved a permanent spot in my rotation, not just as a backup snack but as something genuinely worth planning for.
Ingredients
- Chickpeas: One 400g can, drained and rinsed thoroughly (or 250g of your own cooked ones)—the rinsing step matters more than you'd think, as it removes the starchy coating that would otherwise make them mushy rather than crispy.
- Olive oil: Two tablespoons, the good kind you actually enjoy—it coats each chickpea evenly and helps them brown beautifully.
- Sea salt: Half a teaspoon, adjustable to your taste preference.
- Smoked paprika: Half a teaspoon for that subtle warmth and depth.
- Ground cumin: Half a teaspoon, adding an earthy, almost nutty note.
- Garlic powder: A quarter teaspoon, keeping things savory without overpowering.
- Black pepper: A quarter teaspoon for gentle heat and brightness.
- Cayenne pepper: Optional quarter teaspoon if you like a kick that builds as you eat.
- Nutritional yeast: Optional tablespoon if you're craving that cheesy, umami flavor.
Tired of Takeout? 🥡
Get 10 meals you can make faster than delivery arrives. Seriously.
One email. No spam. Unsubscribe anytime.
Instructions
- Heat your oven and prepare:
- Set your oven to 200°C (400°F) and line a baking sheet with parchment paper so cleanup becomes effortless later.
- Dry the chickpeas thoroughly:
- Pat them completely dry with a clean kitchen towel—this is the secret to crispiness, so don't skip this step or rush through it. You want them bone-dry before they hit the oil.
- Coat with oil and seasonings:
- In a large bowl, toss the chickpeas with olive oil and all your seasonings, stirring until every single one is coated evenly. Taste a raw one if you'd like and adjust salt or spices now.
- Spread and roast:
- Pour them onto the prepared baking sheet in a single layer, giving them space to breathe rather than piling them up.
- Shake and rotate:
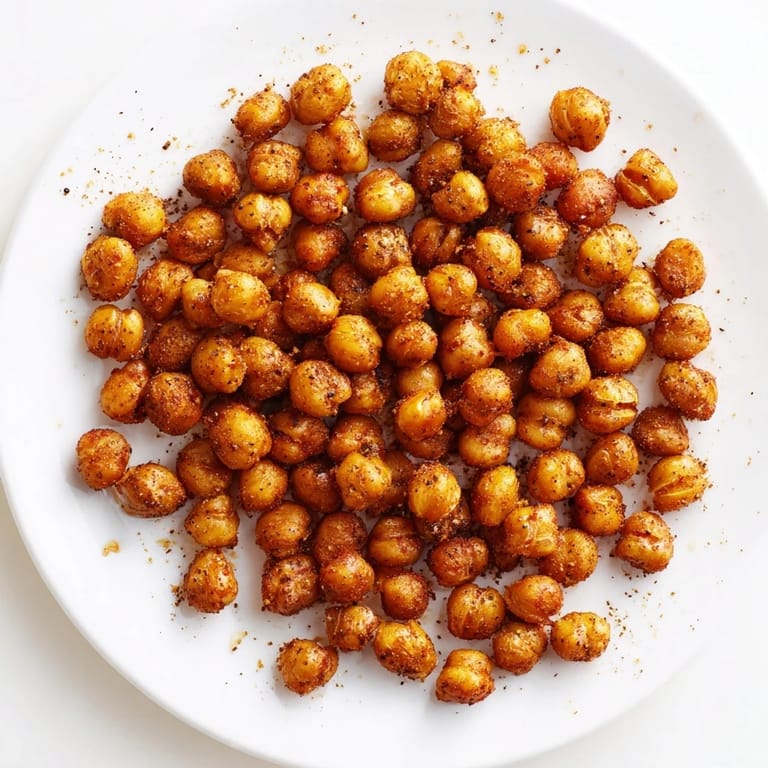
- Every 10 minutes for the next 35 minutes, shake the pan or stir them with a spoon to ensure even browning and crisping on all sides. You'll notice them gradually going from pale to golden.
- Cool before serving:
- Remove them when they're golden and crunchy, and let them cool on the pan for a few minutes—they'll continue to crisp up as they cool, becoming even more satisfying to bite into.
 Save
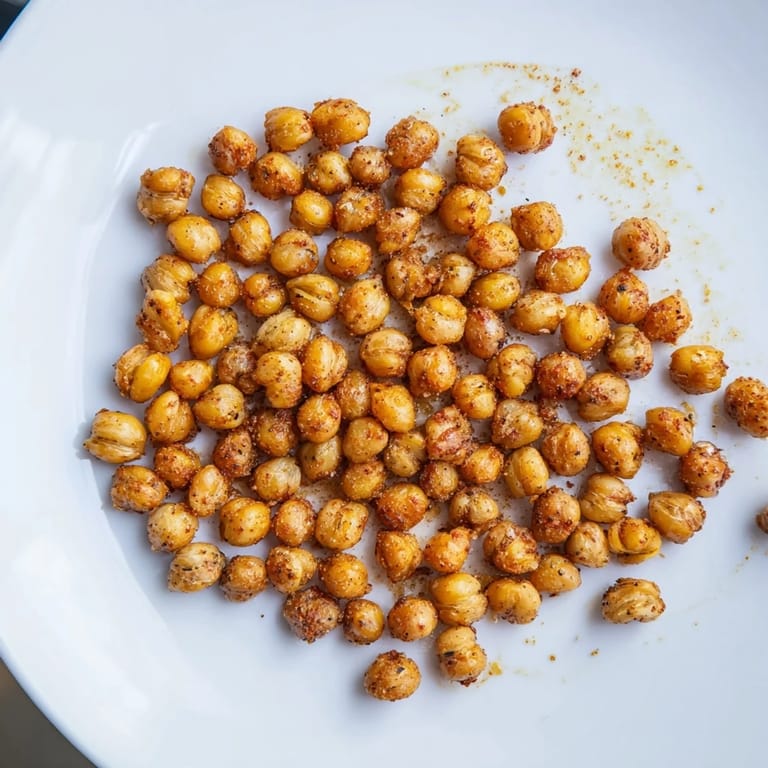
Save My partner once came home to find me mid-snack, happily crunching away at a bowl of these while planning the week ahead. They asked for a handful, then another, and suddenly we were sharing our thoughts on a Tuesday evening while something as simple as roasted chickpeas somehow made the conversation feel special.
Storage and Keeping Them Fresh
Once they've cooled completely, transfer them to an airtight container or a glass jar with a tight-fitting lid. They'll stay crispy at room temperature for up to three days, though I've noticed they're genuinely best enjoyed within the first two days when they're at peak crunch. If they do soften after a couple days, you can always pop them back in a 180°C oven for five minutes to restore that satisfying texture.
Seasoning Variations to Try
The beauty of this snack is how adaptable it is to whatever flavor mood you're in. I've experimented with curry powder for an Indian-inspired version, Italian herbs with a pinch of lemon zest for something Mediterranean and bright, or a chili-lime blend that tastes like a spicy street snack. Once you nail the basic roasting technique, the seasoning becomes your playground—there's almost no wrong combination.
Ways to Use Them Beyond Snacking
I've tossed these into salads for unexpected texture and protein, scattered them over grain bowls, and even crumbled them into soups for a crunchy topping that actually stays crispy. They've become one of those ingredients I make in advance specifically because they solve the problem of 'what can I add to make this more interesting' at least twice a week. Beyond the obvious snacking moments, they're genuinely useful in the kitchen.
- Sprinkle them over Buddha bowls or grain salads for a protein boost and satisfying crunch.
- Toss them into soups at the very last moment so they stay crispy rather than absorbing liquid.
- Keep a jar within arm's reach of your desk or couch for when hunger strikes between meals.
 Save
Save There's something deeply satisfying about having a batch of these on hand, knowing you've got a snack that's genuinely good for you and genuinely delicious. Once you make them once, you'll understand why they become such a regular part of the rotation.
Common Questions
- → How do I make chickpeas extra crispy?
Pat chickpeas dry thoroughly before roasting and stir them every 10 minutes to promote even crisping.
- → Can I add different spices?
Yes, variations like curry powder, Italian herbs, or chili lime can customize the flavor to your liking.
- → How should I store roasted chickpeas?
Allow chickpeas to cool completely, then store in an airtight container at room temperature for up to three days.
- → Can nutritional yeast be added?
Adding nutritional yeast provides a cheesy flavor without dairy, enhancing taste and nutrition.
- → Are these chickpeas suitable for vegan and gluten-free diets?
Yes, the ingredients are plant-based and free from gluten, making them suitable for both diets.